Showing posts with label seed starting. Show all posts

Saturday, March 24, 2018

The Pumpkin Season has Begun (Kind of)!


This time of year for years I've done the same thing.  As the weather starting warming up and you start seeing some of the crocus and daffodils peaking through the ground, my pumpkin growing fever starts to rise.  To curb the cravings I like to start something off that can be productive.  I've talked on this blog a couple of times about getting myco going in pots before you start your actual seeds.  I won't be start my plants for a couple of weeks, but it takes a while for myco to become mature enough that it is actually providing some benefits to the plant, so it is good to start it now. 

At the Niagara seminar Neil Anderson of RTI, whose company makes more myco than probably any other company out there, stated (somewhat quietly), that it may take a couple of months for the myco to get to the point that it is bringing back nutrients and water back to the plant.  I stuck around after his seminar and asked some additional questions about that.  He suggested during the seminar that "pre-starting" some myco before you started the seeds and then transferring that seed starting mix to the pots may be a good idea.

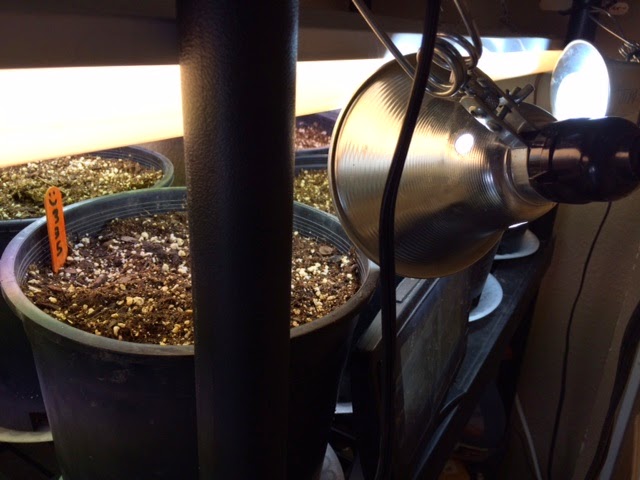
Typically I would have started some seeds a week ago, but I only got these started two days ago, because life has been very busy lately.  Using the paper towel method I started two 747 Johnson seeds.   Those sprouted and I then put them both into one pot with two different brands of myco, Azos and some other beneficial bacteria.  I also put a pinch of a WOW Super Start Pack in the seed starting mix.  The day or day before I start my actual seeds I plan to grow this season, I'm pull the plants from this pot and mix the soil in the seed starting mix of my other pots, so each pot will get some of this more mature myco.

I'll still put some additional myco and microbes in the pots of the plants I'll actually be growing this season.  

The other benefit of doing this is that it forces me to get my stuff pulled together in advance of when I start my actual plants and gives me a little practice.  For example, in the pot I put the seeds in today, I should have put a little humic acid into.  Hopefully this will help me remember when it becomes more important.

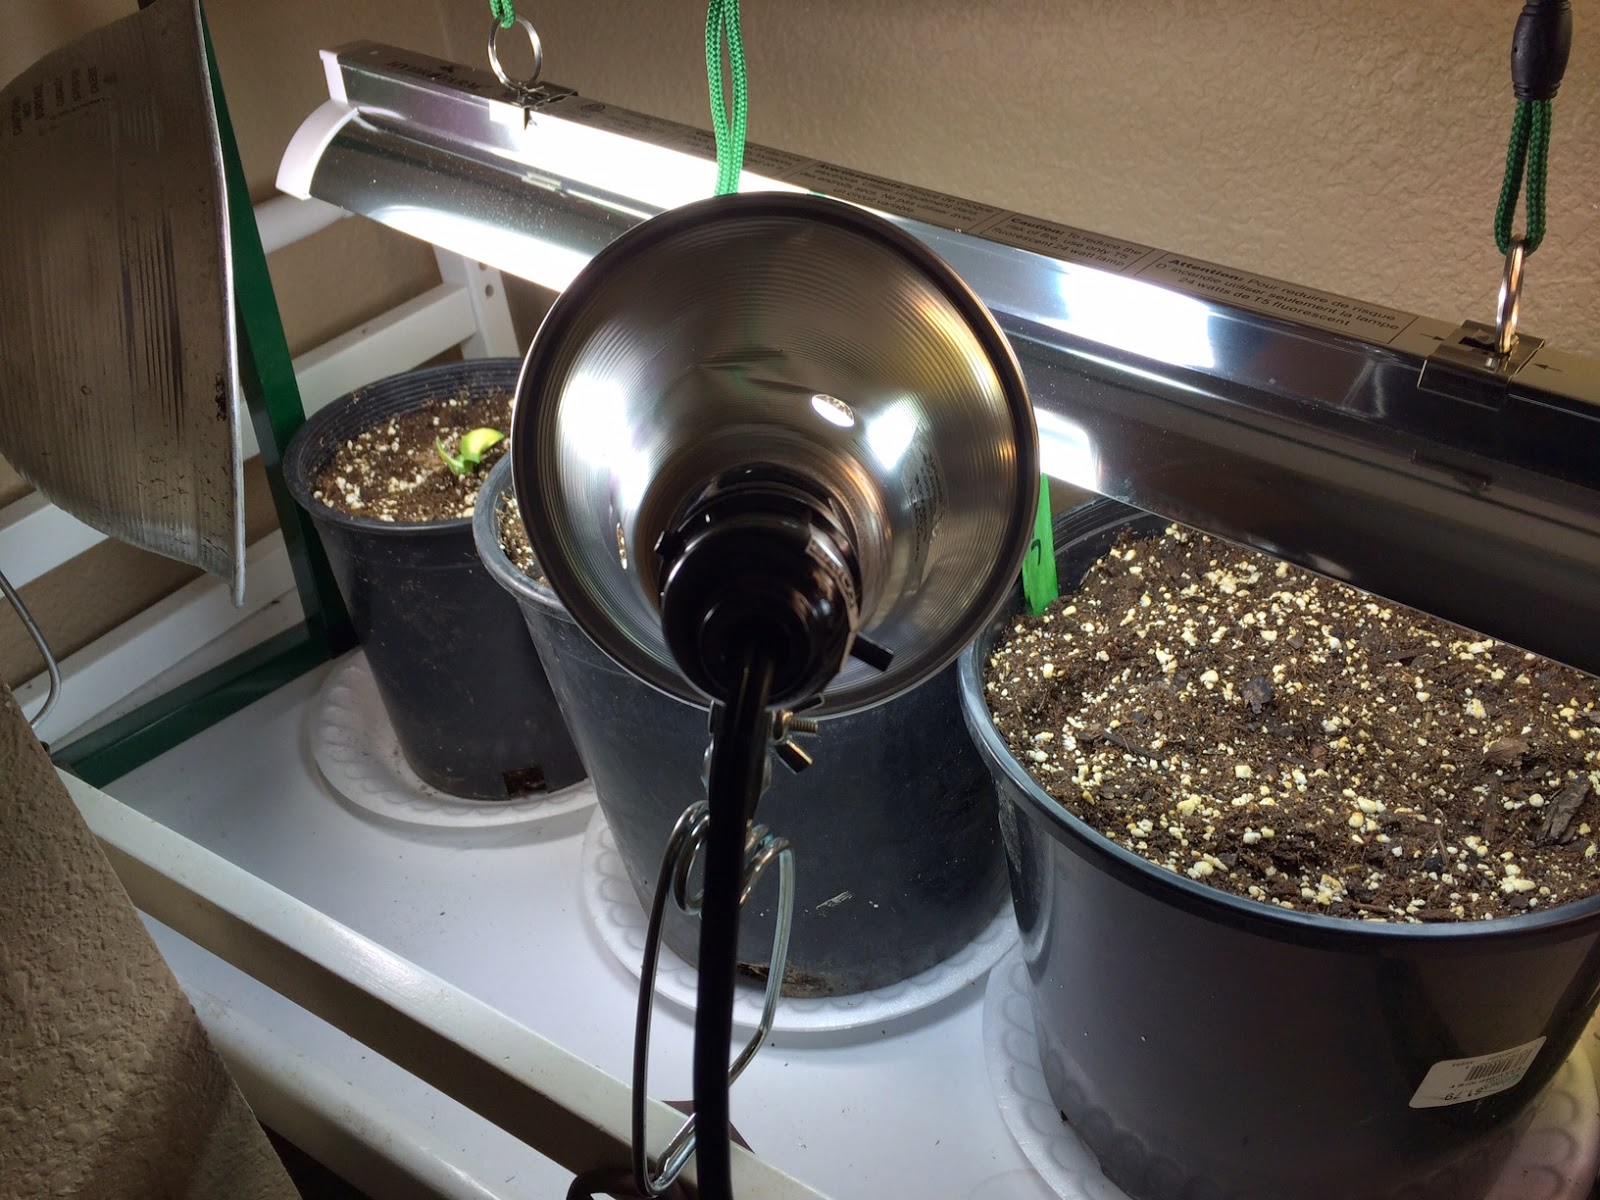
In about 3 days I suspect I'll start seeing the plants popping through the soil.  I start two plants in the soil to get more roots going throughout the pot quickly.  I figure more roots means more myco getting fed.  


Wednesday, April 19, 2017

Seed Starting Mix with Coco Coir Giving Horrible Results

I had mentioned before that I didn't have enough ProMix BX to start all of the plants in so I tried a coco coir seed starting mix for a few of the plants.  At first I thought 3 plants were just a little slow getting going, but now it is obvious that the plants started in the coco coir are the ones that are stunted.   Wish I could remember what brand I used, because I know some people start seeds in coco coir without problems, but these plants have obvious problems.   I gave them a mild fertilizer today, because I have to believe the issue is nutrient based.  Most seed starting mixes have very little in them, so I don't know what the issue would be with this coco coir, but I won't use it ever again.

If any Utah grower knows of a place to buy ProMix please let me know.   

Wednesday, April 5, 2017

The Best Seed Starting Mix for Giant Pumpkin Seeds

Sometimes I get asked what I use for my seed starting mixture.  If you dig deep enough into this blog you'll see that I've done testing with different seed start mixtures.   I prefer a soil less mixture.  Some of the best genetic pumpkin seeds can be hard to come by so I prefer a medium other than soil so I can be sure that no pathogens are in the mixture.  Pro Mix BX is my favorite seed starting mixture, but so far it has been hard to find in Utah.  I had one bag, but that wasn't enough for my two pots, so I'm trying coco hair this time in a couple of pots, which I've read good thing about.  

In my pots I'll add some humic acid, NPK Industries Microbes Grow formula and this year I also added some Lebanon Turf Roots (I bought it for the landscaping plants I've started indoors).   In those two substances there is a good mixture of myco and beneficial bacteria along with micro amounts of different nutrients.   I don't put any fertilizer in the pots.   Everything the plant will need for three weeks are in the seed starting mixture and fertilizer is not necessary.  I won't give the pumpkin plants any fertilizer until they are planted outdoors in the soil.  Actually I do give the plants some diluted kelp in the pots, but that is about it.

Lighting Up the "Grow Closet" & the Pumpkin Season has Begun!

We are off and running! Seeds are soaking as we speak and the new "grow closet" is fired up.   In the new house I put two closets in my office.  The one closet is a typical office closet and the other closet is dedicated to pumpkins.   I turned on all the lights for the first time today.   The temperature is thermostatically controlled in the closet for the perfect environment.  We should have enough lumens here to get some good pumpkin plants started.

Saturday, April 1, 2017

The Little Known Secret of Mycorrhizae

If you haven't heard of mycorrhizae (myco), beneficial fungi, microbes or beneficial bacteria then you might be missing out.  In a teaspoon of soil there are more bacteria and fungi than all of the people on earth.  Most plants couldn't live without them.   By building biology in your soil with a healthy balance of beneficial bacteria and fungi you can grow bigger pumpkins, healthier lawns and have a better garden.

One of the better known beneficial fungi is called mycorrhizal fungi.  These microscopic guys can produce a symbiotic relationship with the roots of your plant and as a result bring extra water and phosphorous to your plant.   You could literally double what the roots alone could do with myco.

What many growers don't know is that it can take a month or so for your myco to mature to the point that they are providing much benefit to the plant.  One prominent myco producer somewhat quietly once told me that there may be some benefit in starting myco in pots three to four weeks prior to your planting of your actual plants.  Because of this, each year I start a test planting with a couple of seeds in a pot that I have pre-added myco and other beneficial bacteria to.  In two more weeks, when I start my pumpkin seeds, I'll pull these plants out of their pots and mix the soil from this pots in my pumpkin pots.

This year I used NPK Industries' RAW Microbes Grow Stage.  It has four different types of myco along with five different types of beneficial bacteria.  One of the reasons I'm using RAW Microbes is because if you were to test some of the different popular products on the market you would find that in some cases the spores aren't viable or you aren't buying what is on the label.  NPK Industries double tests their product.  Let me know if you are interested in this product.


Wednesday, March 22, 2017

Tips for Giant Pumpkin Seed Starting

Soak the seed(s) in mildly warm water with a drop of seaweed (optional) and a little humic acid (optional) to help them germinate. After 3-4 hours of soaking transfer the seeds to lightly moistened paper towels that will be folded around the seeds and put into Ziploc bags. The Ziploc bags will then be placed at the back part of my computer where it is usually about 85 degrees. An ideal temperature for pumpkin seed starting is between 85 to 90 degrees. In 24 to 48 hours a little root will come out of the bottom of the seed and at that time I will transfer the seeds to my seed starting mixture in peat pots.


If you prefer, after soaking the seeds you can transfer the seed to a pot with a seed starting mixture rather than using the paper towel method.  The soil should be lightly moist and the pot should be in a warm place (80 degrees) to help germinate the seed.  the pointy part of the seed should be facing down as that is where the tap root will come out.

For my seed starting mixture I use 80% ProMix BX with some earth worm castings (optional) and some mycorrhizae (optional beneficial fungi) and Azos (optional beneficial bacteria). About 2-5 days  after putting the seeds in the pots they will start popping through the soil (can take up to 10 days if conditional aren't ideal). I put my pots in a closet with grow lights and a space heater in them so I can keep the plants at about 85 degrees. About two weeks later I'll plant them in the pumpkin patch inside hoop houses.  Anytime the weather is nice and not windy I'll put the plants outdoors so they can get sun.  No grow lights will do as well as the sun.

Growing Giant Pumpkins at Altitude

This will be my first season growing in Midway, Utah.  But having growing in Denver for years at an altitude that is only about 200 feet lower than most of the Heber Valley, it won't be much different as far as technique goes, although the average temperatures are about 5 degrees cooler on average.  The following are some tips for growing giant pumpkins above 4,000 feet in altitude.

Seed Starting
Start your seeds indoors in a warm area that gets lots of light.  Supplemental light and heat would be a good thing.   Start the plant in a pot that will give the roots room to grow.  Atlantic Giant pumpkin seeds roots grow really fast.   A one gallon pot will have roots top to bottom in two weeks.  Usually I start my seeds around April 15th.  For competition pumpkins that is required to give the plant enough time to grow.  For the more casual grower, maybe start your seeds around May 1st.

Planting in the Pumpkin Patch
I'll put out hoop houses (little green houses) a week or more before I plant outdoors to help warm the soil.   Plants don't like cold soil.  The first week of May, depending on the weather, I'll plant my pumpkin plants in the patch inside the hoop houses.  At night I'll add a 100 watt incandescent bulb, space heater or heat lamp in the hoop house to give a heat source for the plant and put a tarp or blanket over the hoop house.  The hoop house warms up very quickly in the sun (like a car with the windows rolled up in summer) during the day, but inside the hoop house by midnight it will be nearly the same temperature indoors as outdoors, so some sort of heat needs to be added or else the plants could freeze or not grow as quickly as they should.

I keep a little wireless thermometer in the hoop house and as soon as I see it hit around 85-88 degrees I open the flaps up.  I try to maintain a temperature between 85-90 degrees as much as I can.  I don't like to let it get over about 91 degrees.

Pumpkin Plant Vining
If you start your seeds on April 15th and the plant is happy, the vines will start to grow around the middle of May.   By the first week of June the vines are growing fast and typically my plants are out of the hoop house.  By this time of year there shouldn't be much risk for frost so the plant should be okay until September.

Grow em big!


Saturday, February 18, 2017

Lumens for Giant Pumpkin Seed Starting

Let me say up front, I'm not an expert on lumens and growing under lights, but I have done it for 8 years now so I'm not a novice.  When I start my pumpkin seeds I start them indoors under lights.  My setup includes putting the plants on the top of one of those standard plastic shelves that you can by almost anywhere that has a grated shelf.  On the bottom shelf I have a thermostatically controlled space heater and everything is in a closet.

In my new house I have a dedicated grow closet that is used for starting plants and the rest of the year I store my growing products in it.   At my old house I had florescent and T5 lights above the plants with full spectrum 6000K CFL bulbs on the side that are in brooders pointed at the plant.  This setup has always worked well.  The plants have always been short, stocky and not leggy which can happen when the plants don't get enough light.   The color always looked good too.

At the new house my florescent fixtures are too large to fit the grow closet so I just bought some additional T5 fixtures.  I like the T5 fixtures because they don't get too hot and they are nice and bright. With the T5s I'll continue to use the cfl bulbs with the brooders.

Now, for how much light do you need on your plant?  A T5 bulb 3-5 inches above the seedling with a CFL bulb in a brooder pointed at the plant from the side seems to be enough light.  I like to put the plants in the sun anytime I can, because you can't duplicate the sun and you need to get the plants used to the sun's brightness.  Also, a light wind is a good thing to help get the plant to harden off a little.  I think it also encourages root growth some.

A minimum of lighting needed for your pumpkin plant is around 2,000 lumens per square foot.   That would equal about two 23 watt CFL bulbs on a seedling. Mid-range would be around 5,000 lumens per square foot.  That would equal three 23 watt CFL’s.  What would be considered optimal for most indoor grows would be around 7,000-7,500 or higher, but for young seedlings I'm not sure that would be ideal or necessary.  That would equal five 23 watt CFLs.

For my T5 setup with the CFL bulb, I'm getting about 4,600 lumens, but there are multiple plants, so I have multiple bulbs in the area of each plant.  I would guess that each plant is getting right around 5,000 lumens per plant or a little more and it seems to be adequate to get the plants started until you can get them into the hoop house to get them fully going.

Sunday, April 12, 2015

Let the Pumpkin Season Begin!

This morning I filed, soaked and started my pumpkin seeds.  The seeds I'm starting:

282 Scherber (1725 Harp x self) - this is a seed from the plant that grew the 2,009 pound world record that was "cloned."

1985 Miller (2009 Wallace x 1725 Harp) - Grew a lot of massive pumpkins last year

1415 Scherber - this is a 282 seed that was selfed last year.  Pumpkin was in Colorado state record territory when it went down three weeks before the weigh-off.

Need seeds to grow a giant pumpkin yourself?  It is a great activity to do with your kids or to just have the biggest jack-o-lantern in the neighborhood.  Get your seeds here.

The following is a great article on seed germination techniques:  Seed_Soak_Experiment

Sunday, April 20, 2014

The Grow "Room" Closet

During the off season I got some new grow lights for Christmas which has allowed me to start even more plants this year.  As of today all of the seeds that I started on Tuesday have popped through the soil expect for three and two of those three I know germinated so it looks like we are in very good shape.  Pictured below is my light setup. 

I start the seeds on some shelves in a closet.  On one half of the closet I've got 4 florescent bulbs with three full spectrum bulbs that are in brooders on the side.  This gives plenty of light to the plants as long as I keep the florescent bulbs within about 4 inches of the plants.

On the other half of the closet I have one T5 bulb and two cfl bulbs with brooders.  These setup is new but seems like it should work well.

At the bottom of the closet is a thermostatically controlled space heater.  On the plants level this keeps the plants at about 85 degrees which is just about right.

So far I haven't tripped a breaker.  Keeping the fingers crossed.


Saturday, March 15, 2014

A Little Secret About Myco and Pumpkin Growing

I think most growers wouldn't know this, but the myco that we put into our pumpkin patch takes months to mature to a state that it is providing full benefits to the pumpkin plant.  There are three stages in mycorrhizal growth to maturity:  spore germination, hyphal growth, host recognition and appressorium formation.  There are studies that show that it can take 6 weeks to 2 months for myco to mature enough that the benefits of infection can be measurable on a plant. 

Neil Anderson, President of RTI, stated this fact at the Niagara growers convention some years ago and he suggested that starting your myco in a pot weeks prior to starting your pumpkin seeds could prove beneficial.  If you start a pot with a pumpkin seed in it a month before you start your seeds you want to grow and then break up the seed starting mixture and roots from that pot you can capture the mature myco in that pot.  You then just mix the pots seed starting medium with the seed starting mixture that you want to grow you actual plants in.   The myco in that pot can survive for up to two weeks without being attached to roots and will actually "call" to the roots of your plant.  You can then get inoculations to form with the roots of your plants much earlier and start getting benefits much faster using this technique.

In the pumpkin patch I'll be using just one variety of myco, but in this pot I'm using eleven endo varieties of myco.  Make sure you use endomycorrhizal for pumpkins, grasses and vegetables because the ecto variety will not work on anything but trees and bushes.   

If you are not familiar with mycorrhize fungi there are some very extensive studies the have found the following benefits from using myco:

• Increases nitrogen, water and phosphorus uptake
• Increases crop yields
• Protects plant roots from pathogens
• Improves plant resistance to a wide array of soil toxicities
• Salt tolerance